Here are the supplies:
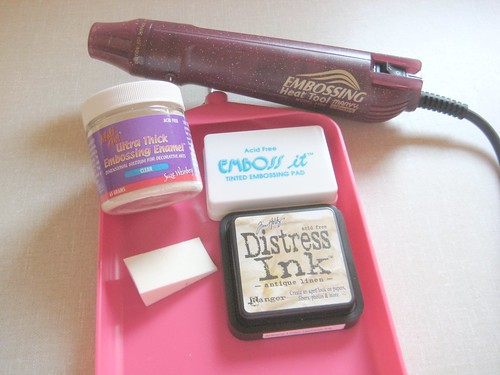
Ultra Thick Embossing Enamel
Heat Gun
Powder Pal Tray or an old shoe box
Versamark or Embossing Glue Pad (mine is tinted)
Memento Ink
Cardstock
Copics (or other colouring medium)
Freezer
Sponge and ink for distressing
Step 1:
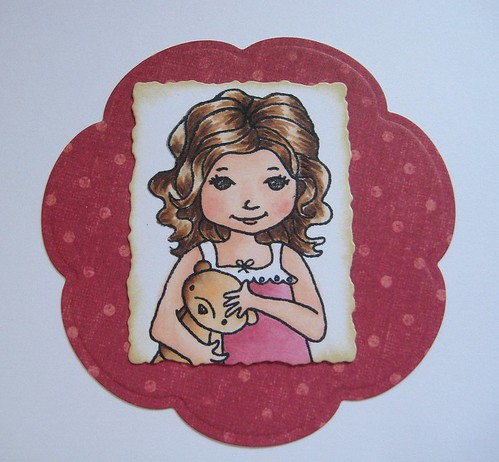
Stamp image on cardstock ~ I used Memento Tuxedo Black ink to stamp the Victoria Case image and then coloured the image with Copics and sponged the edges with distress ink.
Step 2:
Apply Versamark over the entire piece of cardstock.
Step 3:
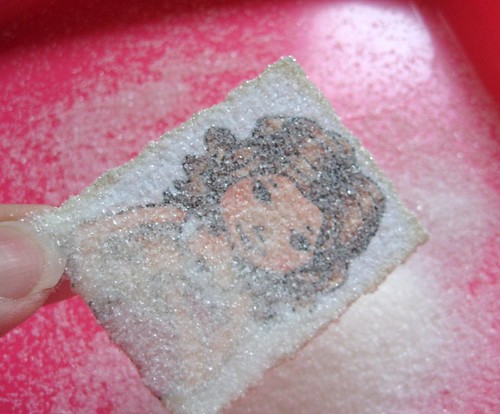
Place your cardstock in a Powder Pal (before I got one, I used to use an empty shoe box) and pour Ultra Thick Embossing Powder (UTEE) over the cardstock. Tap off excess powder.
Step 4:
Using your heat gun, heat powder until it's all melted. The first layer of UTEE will look lumpy when you have done heating. The more layers you add and heat, the smoother the finish.
Step 5:
Repeat Steps 3 and 4 a few more times while the UTEE is still hot. If the UTEE has cooled, go back and repeat Step 2 (reapply the Versamark or embossing glue pad) and then continue with Steps 3 and 4. I added UTEE 8 times to my sample as I wanted it thick.
TIP:
The more layers you add the smoother the finish, the glossier the look and also thicker to more easily create cracks.
Step 6:
Once you have finished adding all the layers of UTEE, place cardstock in the freezer for 5 - 10 minutes so that it cools completely. When you remove it from the freezer, the cardstock may be warped but that's ok.
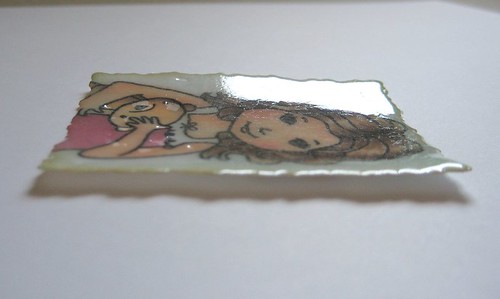
Step 7:
This is the fun part. Bend the cardstock gently until you hear cracking and you are satisfied with the look. You'll notice I over-cracked the image on the left as I got a bit over-zealous when I should have been a bit more gentle. I did do-over but decided to post my over-cracked so you could see what can happen. Updated to add: BTW, if you're not happy with how your cracked image turns out all you have to do is reheat it with the heat gun and it goes back flat and smooth and then you can rebend/crack to your liking.
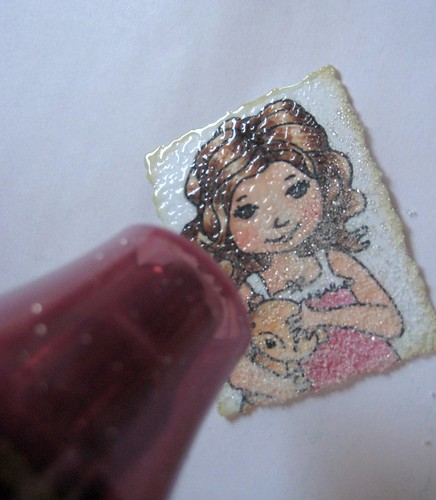
Step 8:
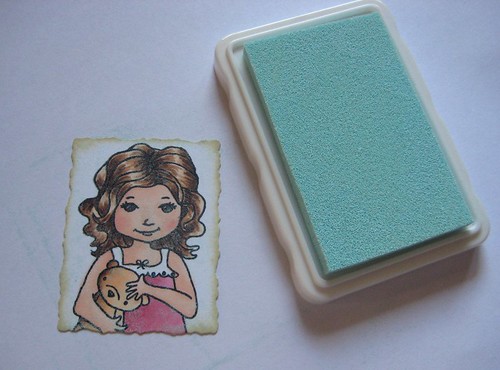
This is my favourite part, using a distress ink or any other ink you prefer, sponge directly on the cracked glass to give it a more vintage look. The darker the ink colour, the more you will see the cracks. Wipe off excess ink with a paper towel or clean rag and place on your card.

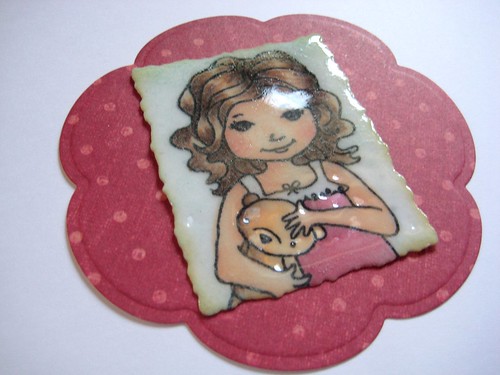
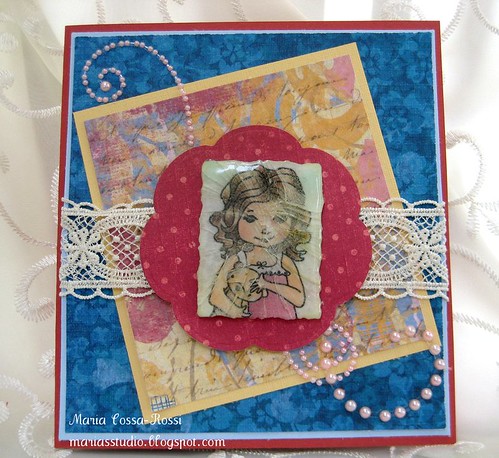
Final Project:
Here's the card with the cracked glass image. Gluing down the image was a bit of a challenge so I ended up using pop dots.
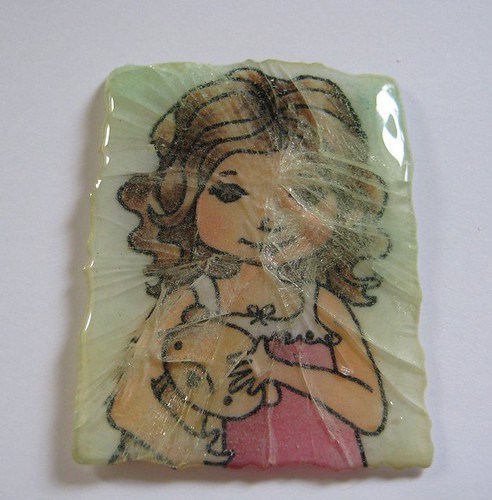
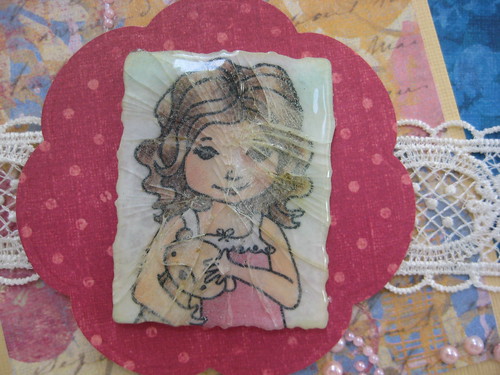
Here's a close-up of the image in all its 'over-crackedness' but I still like the effect.
Hope you have enjoyed today's tutorial and feel free to ask questions.
Have a great day,
Maria
2 comments:
Thank you so much -- I am a beginner and your tutorial is clear and easy to follow - hope you will do more tutorials.
Sandy D
What a great tutorial... thanks for sharing.
Monica
Post a Comment